
Well, no more! I took my own pictures (with my iPhone no less) and edited them with my Smilebox app to make them look like sports cards. I printed them off at Costco for 14 cents a picture and the result is wonderful. As long as that photographer is on the job, I will be taking my own pictures. It's simply not worth it otherwise!
 | |
| The picture taken by the professional photographer - note how darkly outlined my son is and the weird light. My son just doesn't look like this in real life. |
 |
| My photo of my son. I took this with my iPhone and edited with Smilebox. |
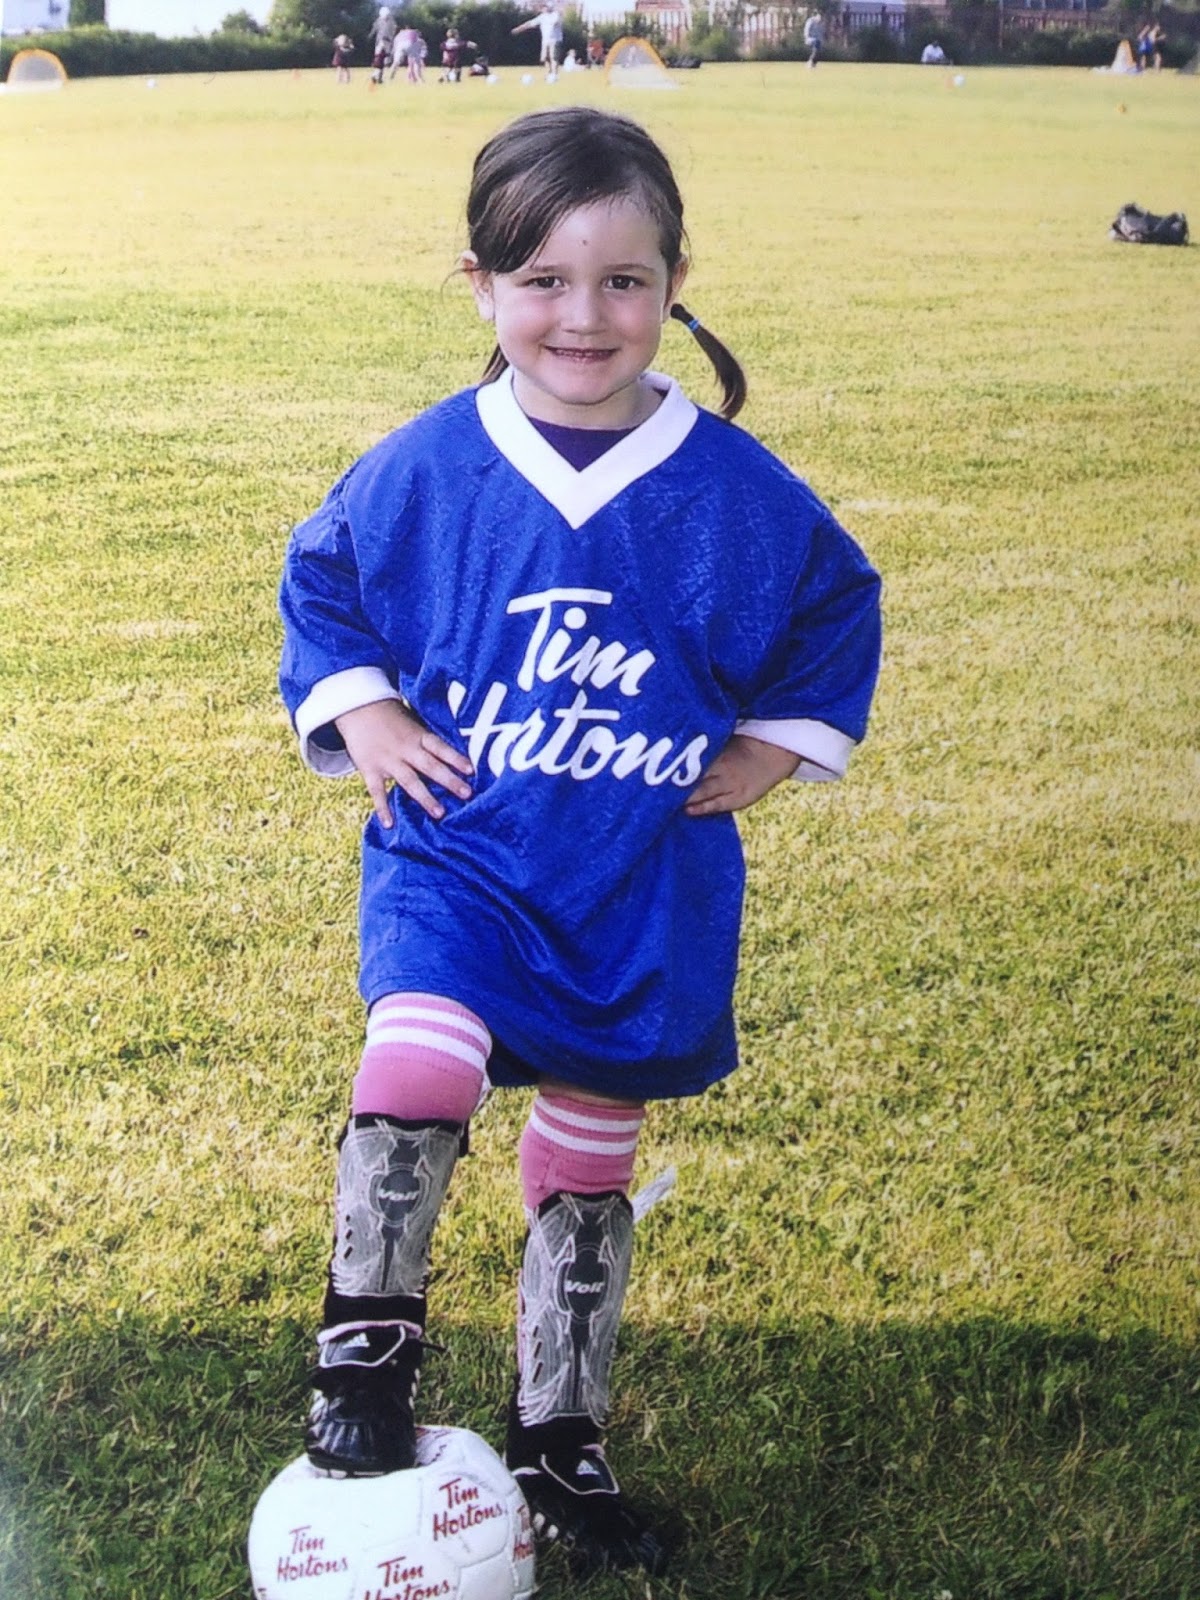 |
| The professional photo of my daughter. Again, the weird light doesn't make her look like her. The soccer ball prop is flat. |
 |
| My photo of my daughter, taken with my iPhone and edited with Smilebox. The soccer ball is normal. |
The professional photographer charged me $15 each package for a team photo with a 3x5 plus 2 4x6 pictures. Getting any sports cards would have been an extra $10 each. I spent $30 for crap pictures.
Doing it myself cost me $1.40 for 10 4x6 edited pictures at Costco. Smilebox is a free app for your iPhone. I added their names to the pictures on the ones I ordered.
To get this look, I clicked:
1. Designs
2. Life
3. Sports
4. MVP assortment
5. Camera Roll to choose the picture I wanted
6. Chose the frame I wanted
7. Chose the sticker I wanted and re-sized it in place
8. Brightened the picture
9. Chose Pop for the coloring
10. Chose All Caps for the lettering, typed in the text I wanted, re-sized it in place and saved it to the roll.
I then uploaded them to my computer and uploaded again to Costco photo. The pictures are ready a day later. I can choose as many as I want and the size I want.
Smilebox on your computer http://www.smilebox.com/
Smilebox at the app store

No comments:
Post a Comment